

Try Weglot for free


Shopify’s language switcher is a great visual trigger that gives your users more control. If it’s missing, floating in the wrong spot, or refusing to show up since switching or updating your theme, you’ll be glad you’ve found this article!
First off, don’t panic. The language switcher doesn’t hold any translation data, so it’s just a case of getting the device back visible on your site. Read on and in less than 10 minutes, you’ll be able to expertly pinpoint which of the three usual suspects – theme updates, unpublished languages, or lazy-loading quirks – is to blame, and implement the solution needed.
First things first – before a language switcher even appears, your Shopify store needs to actually offer more than one language. If you’ve already set up your translations, feel free to jump ahead to the next section. Otherwise, here’s how to get started…
Head to Settings > Languages > Add language. Choose from over 20 supported options, with everything from Spanish to Japanese available. Remember, clicking Publish next to each language is needed to make translations live for customers. Miss this step and your new switcher won’t have anything to switch.
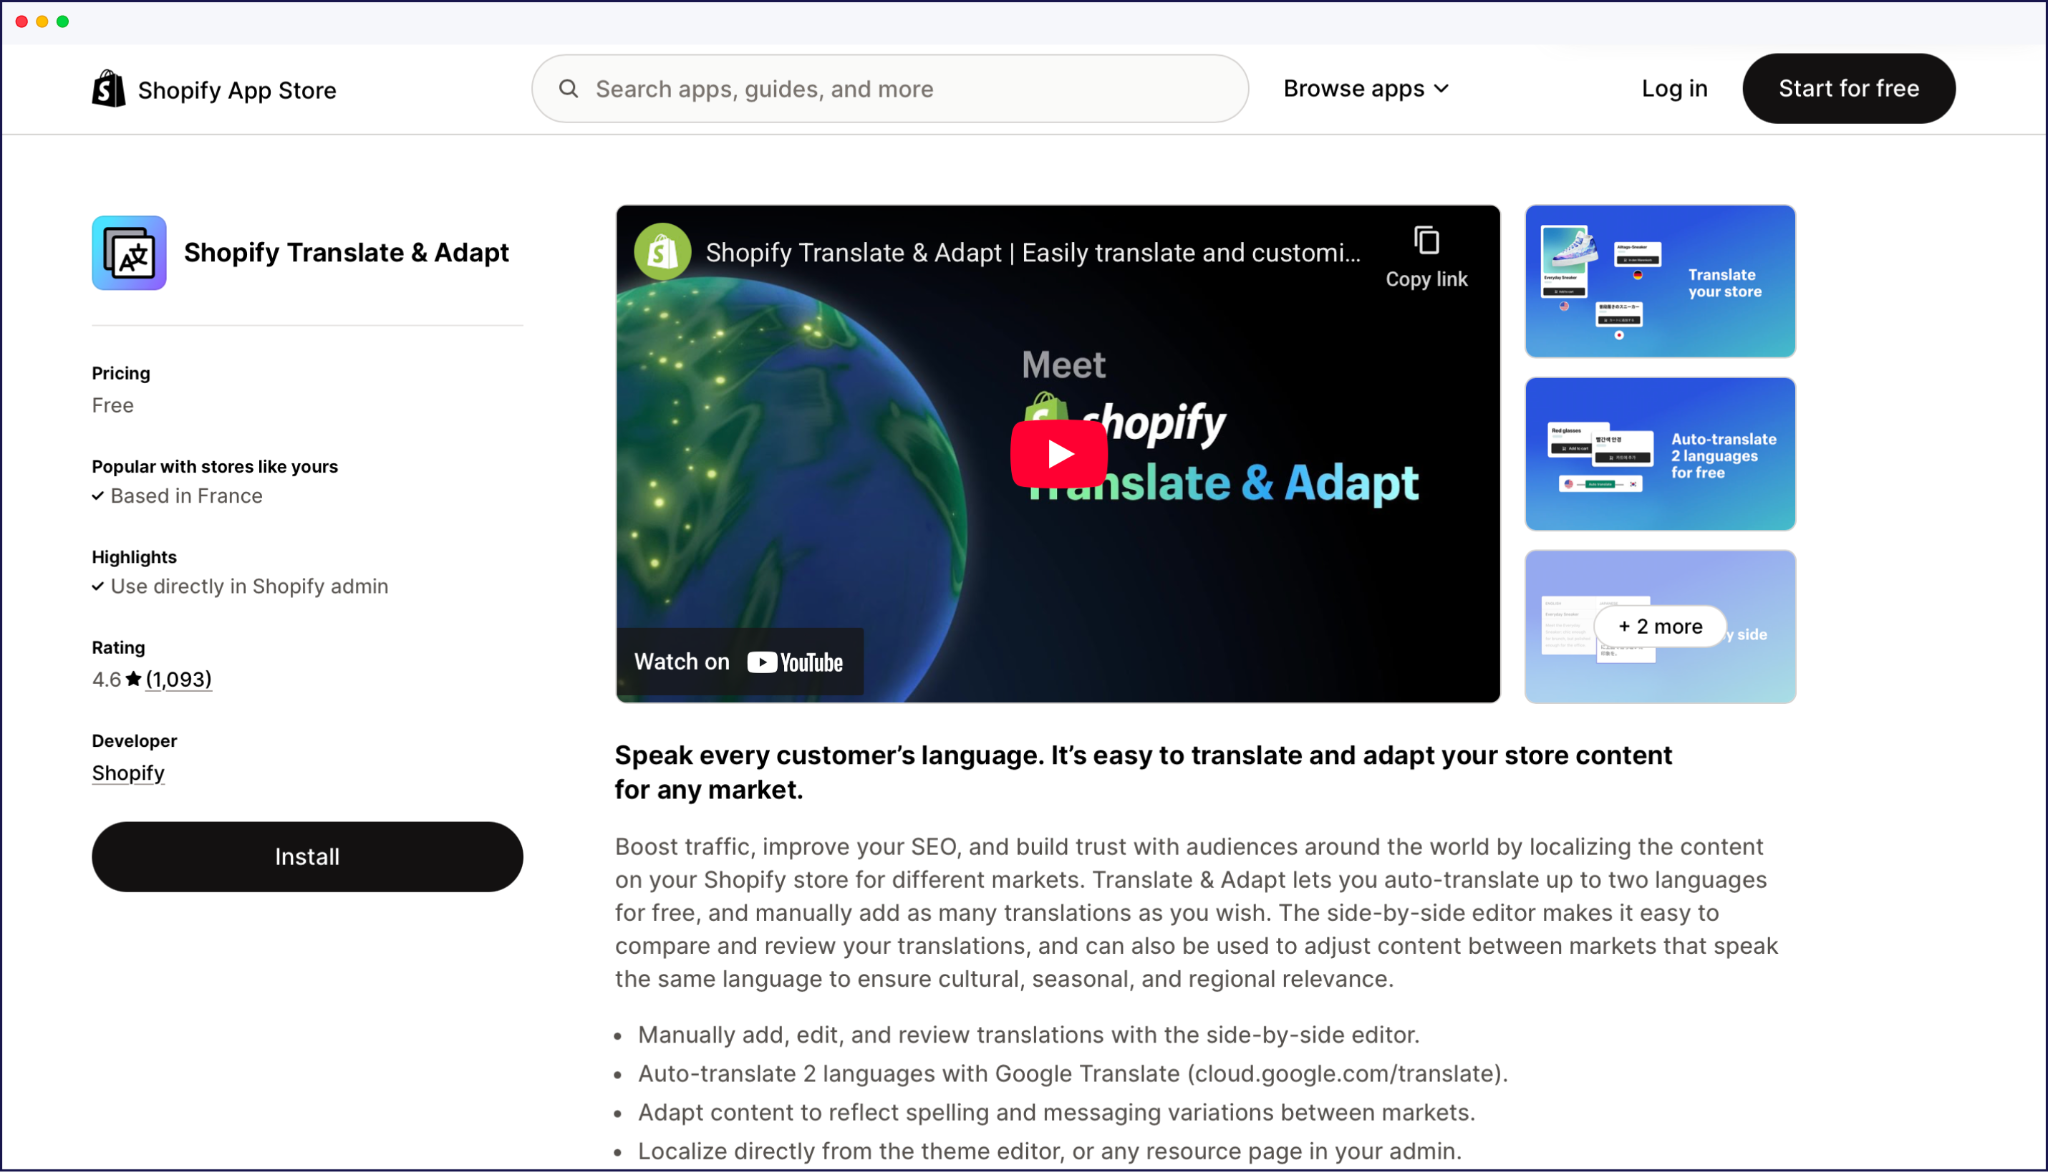
Shopify’s built-in Translate & Adapt app is one option for a multilingual store. It automatically translates your core content into two languages for free, right from the Settings > Apps section after you’ve added your languages.
For bulk control, exporting your site’s language data as a CSV from Settings > Languages > Export. Edit translations in bulk, then re-import – the key is never to touch the Liquid code inside those curly {{ }} or {% %} brackets. That’s Shopify’s theme engine, not plain text.
If you prefer full manual control, Shopify lets stores manage up to 20 languages. Look under Settings > Languages > Actions > Order translations to order professional translation services directly from your Shopify dashboard.
Once your languages are published and translations are applied, you’re ready to tackle the switcher.
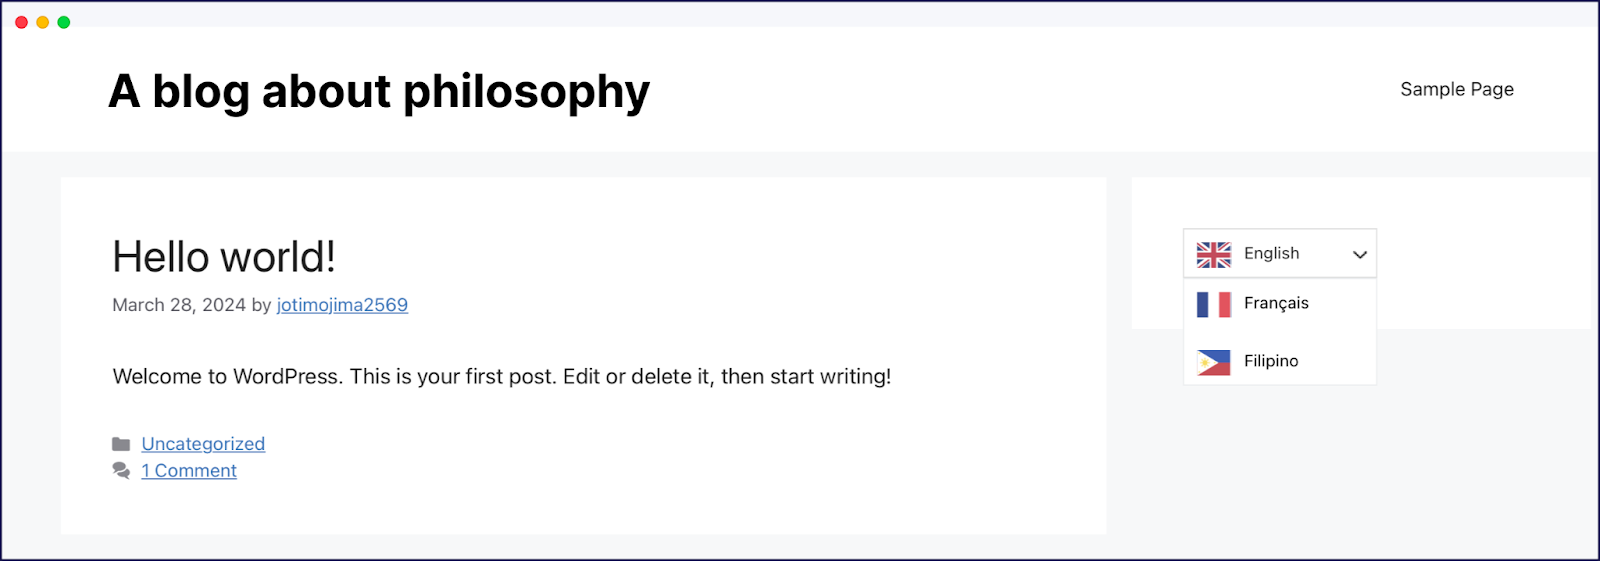
Shopify’s theme language switcher hides in plain sight – but only if you know where to look!
For Dawn, Craft, and Refresh themes, the switcher is tucked away in the Online Store > Themes > Customize > Footer.
Flip the Enable language selector toggle, and it pops up at the bottom of your site. These themes lock the switcher to the footer, so putting it in the header takes extra code – there’s no built-in toggle for top-of-page placement. (Hint: We’ll show you how to do this in the How Do I Add a Language Selector to My Shopify Header? section below.)
Sense and Studio keep things equally straightforward. Their Theme Customizer only offers the switcher in the footer settings. Look for ‘Language selector’ or ‘Localization’ – that’s where toggling happens. Again, header placement isn’t possible unless you’re confident in adding custom code snippets.
Premium themes like Prestige, Impulse, and Motion often include header placement in their Theme Settings > Header, or in ‘Language & Currency’ sections. It’s worth scanning both header and footer panels for editing capabilities – some themes offer more creative options than others.
If you’re still sporting a legacy theme, these predate Shopify’s Online Store 2.0 upgrades. Adding or moving the switcher means popping into the code, usually within footer.liquid. The language switcher is often hardcoded, so custom placement means editing HTML and Liquid markup directly.
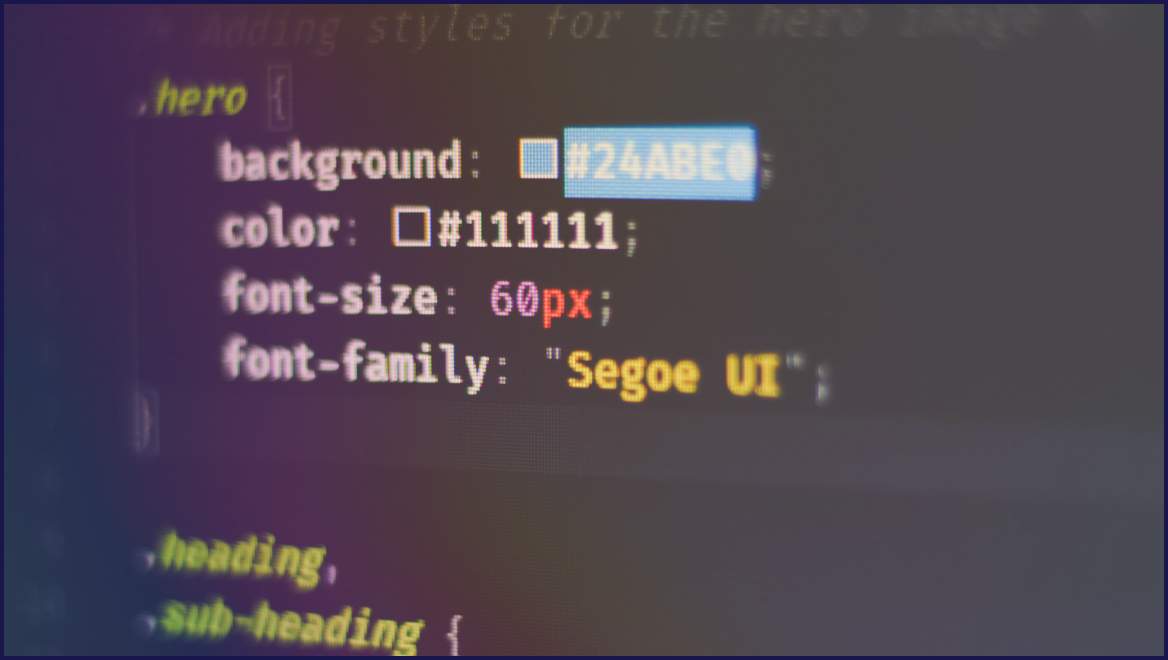
Visual tweaks depend on your theme. Most switchers show either flags, language names, or both. Fonts and colors follow your site’s style unless overridden manually.
Mobile shoppers get a slightly different experience. Most themes hide the language switcher below 768px to keep the cart and navigation clear, sometimes leaving it visible through footers or expandable menus.
When Shopify’s built-in options start feeling cramped, Weglot offers all the freedom you need!
“If you’re aiming for more than two additional languages, want to style your switcher to match your brand, crave automatic geolocation switching, or need language triggers in both header and footer, Weglot gives you the freedom to do this, and much more.”
– Eugène Ernoult, CMO at Weglot
Setup is quick. Install the app, pick your languages, and Weglot’s switcher appears instantly. If you want to make it ultra accessible, just use the #Weglot menu handle trick. Pop #Weglot into any navigation link to create a clickable language switcher anywhere you want, in less time than it takes to say “et voila”.
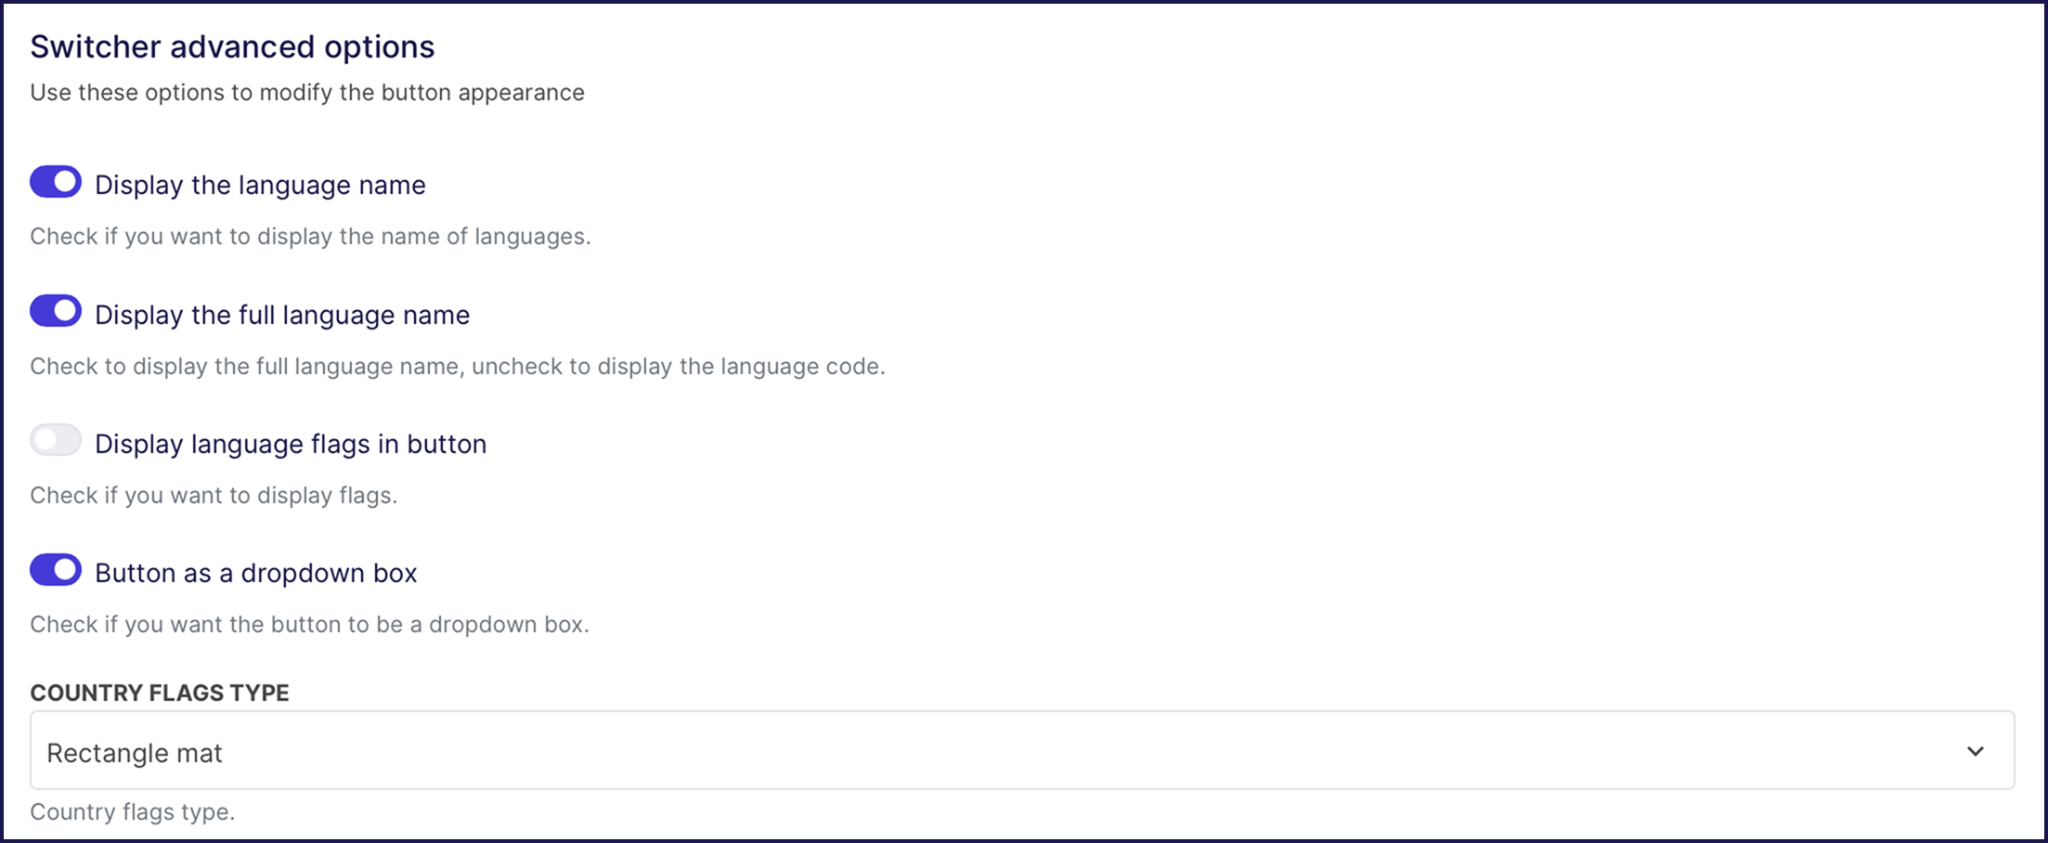
Visual customization is easy once you’ve got Weglot on your team. Our dashboard lets you preview changes to your switcher in real time, skipping any complexity. Tweak placement, style, or icons, and what you see is what customers get.
What’s more, Weglot loads with an asynchronous script that’s less than 100KB, so won’t dent your Core Web Vitals. Be sure to run your site past PageSpeed Insights to see for yourself.
{{ai-banner}}
Go to Theme Customizer > Header > Add block > Custom Liquid.
If you want Shopify’s native switcher in your header, copy the localization form code from your theme’s footer.liquid file. This form typically starts with a localization tag and changes the locale parameter in your URL when customers pick a new language.
Wrap this code in a container with unique class names for styling. To make sure your switcher sits above sticky menus or pop-ups, add CSS like z-index: 10000. This small step keeps it visible and trouble-free.
For Weglot users, the setup is even easier. Drop this code:
<div id="weglot_here"></div>in your Custom Liquid block. Weglot instantly detects this container and neatly drops in your switcher.
After setup, always test your checkout flow. Themes sometimes use separate header files or layouts during checkout, so your switcher might not appear unless those files get the same update.
Language switchers sometimes disappear after a theme update, app install, or layout tweak. Don’t worry – these are usually just visual hiccups, rather than any major failing. Let’s troubleshoot the four most common roadblocks.
Seeing two switchers usually means both Shopify’s native switcher and your app’s version (such as Weglot) are active at the same time. To tidy things up, head to the Theme Customizer’s Footer section and disable the native language selector.
If your theme uses a lazy-loaded header, Weglot’s switcher may appear or disappear as elements load. For themes where elements like headers are loaded dynamically, Weglot recommends manually initializing the switcher once the header is present. This can be done by adding your Weglot script and then calling:
javascript
Weglot.initialize({
	api_key: 'YOUR_API_KEY',
    // other options
});
This is done once the header has fully loaded (for example, via a DOM ready event or after a short delay). This ensures the switcher pops up in the correct location every time.
For further guidance on custom switcher placement and initialization, see the official Weglot Shopify language switcher documentation.
{{quote-image-banner}}
Switchers sometimes vanish during a theme update, but translations are rarely at fault.
First, double-check that your extra languages are still published under Settings > Languages. If they aren’t marked as Published, they won’t show up anywhere.
Next, open Online Store > Themes > Customize > Footer to make sure the Enable language selector toggle is on. Some themes, like Dawn, reset this setting to OFF after updates.
Thirdly, add /fr/ or /es/ to your store URL. Translated pages mean your language data is safe, and you’re only troubleshooting a display issue.
Finally, always view your site on multiple devices – a missing switcher on mobile is usually a CSS display conflict, not a translation glitch.
If your language switcher is missing on mobile, it’s likely by design. Most Shopify themes use CSS to hide extra widgets under 768px to make room for cart and menu icons. Apple’s Human Interface Guidelines require 44x44 pixel touch targets to keep things tappable on small screens.
To fix this, add a media query in your CSS that pins the switcher to the bottom-right corner for mobile devices, with a high z-index value to keep it on top. If you’re short on header space, put the switcher inside your mobile hamburger menu.
Weglot’s switcher sometimes appears only after a manual refresh when themes use lazy-loaded headers. In Dawn 15+ and similar themes, the header is drawn by JavaScript after the main page loads. Weglot injects its switcher as soon as possible, so if the header isn’t ready, the switcher lands in its fallback spot – often bottom-right – or blinks away after a second.
Solve this by setting the WGNOTINITIALIZED flag before your Weglot script loads (in theme.liquid). Then call Weglot.initialize()manually, after the header renders (using setTimeout or a DOM ready event).
Alternatively, you can set a fallback position in the Weglot dashboard, like header first, then footer. This way, your switcher always appears somewhere, even if the header’s late to arrive!
First up, before launching into any changes, duplicate your theme using Online Store > Themes > Actions > Duplicate. This gives you a safe sandbox for testing and fixes.
Next, double-check that all target languages show as Published in Settings > Languages. Make sure your language switcher is visible – some themes want header toggles, some pop it in the footer, so check both spots.
Try direct URL access by adding /es/ or /fr/ to your store address. If those pages load, your translations are ready, and only the switcher placement needs attention. Preview your store at breakthrough sizes – 375px, 768px, and 1920px – using actual devices to catch any responsive quirks.
Pop open Chrome DevTools to measure script loading times. A laggy switcher means trouble for shoppers. Always run a test purchase in every language, as checkout templates love to surprise you. Finally, document all your settings before theme updates. This way, you’ll recover fast from any surprise reset.
If you’re ready for an instant, frustration-free switcher, with Weglot, language changes are one click away. Try our 14-day free trial and see how easy multilingual selling can be.

We’ll get your first languages live. You decide how far you want to go. Try Weglot for free today.
Trusted by 70,000+ global brands


Get started for free and have a multilingual website up and running in minutes.


Weglot is tested and trusted by brands worldwide since 2016. Join them today.


The best way to understand the power of Weglot is to see it for yourself. Test it for free and without any engagement.
A demo website is available in your dashboard if you’re not ready to connect your website yet.


