How to Add a WordPress Language Switcher to Your Site

Are you thinking about adding a WordPress language switcher to your website? If so, keep reading!
Translating your content so visitors can read it in their own language offers enormous benefits for your business. For example, it can help you reach new markets, provide greater opportunities for Search Engine Optimization (SEO) and online visibility, and help you establish trust with new audiences.
For a minimal investment of your time and money, the Return On Investment (ROI) of a WordPress multilingual website is also attractive. According to the Industry Specification Group for Localization (ISG), for every US$1 spent on localization, a business will make a return of $25. This is a 2,500 percent return! As such, it’s something you should consider if you want to better position your company for success in overseas markets.
To make the most of the benefits – including the high ROI – it’s crucial to make it simple for visitors to change languages on your site with an easy-to-find, well-designed, and intuitive-to-use WordPress language switcher.
In this guide, you’ll find everything you need to know when it comes to adding a WordPress language switcher to your site. We’ll show you lots of real-world examples, some best practice tips, and how to create and customize a language switcher using Weglot.
What is a WordPress Language Switcher?
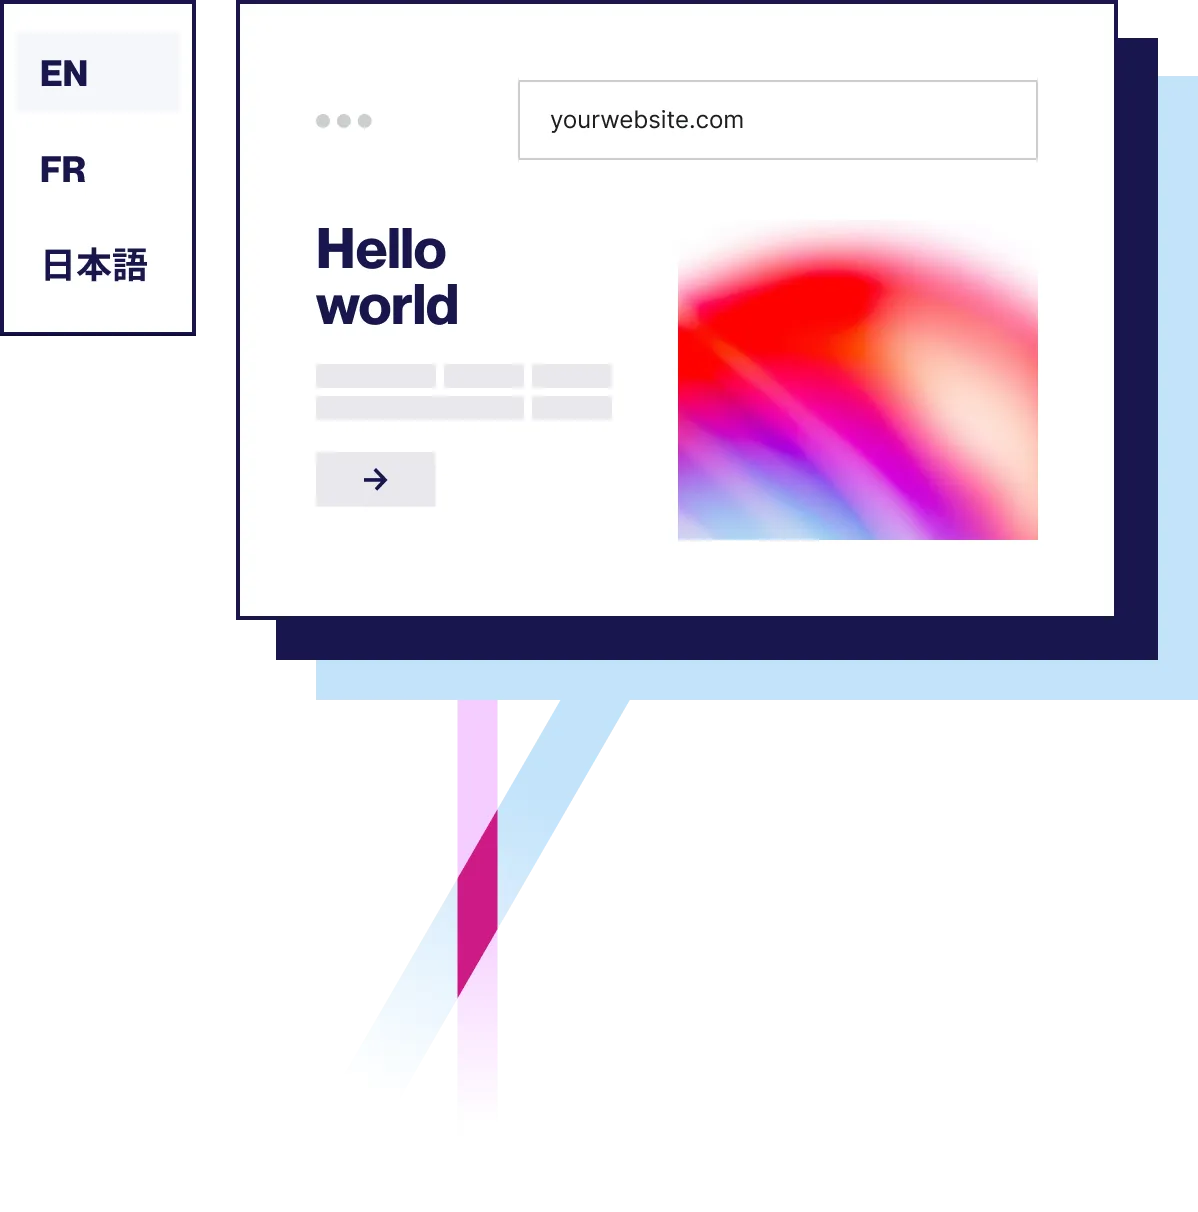
In simple terms, a WordPress language switcher is a button on a page that visitors can click to change the current language of the content.
Though, language switchers aren’t always buttons – they can be text, language codes, a drop-down, or flags. You can place these almost anywhere on the page.
You’ll often find a WordPress language switcher in the header, footer, sidebar, or in the navigation.

On the Weglot website, the WordPress language switcher is located next to the logo in the top-left of the page. It features a drop-down design, enabling visitors to switch between English, French, Spanish, Japanese, and German. This gives users a clear way to access their own language, and begin navigating your site.
3 Examples of Successful Language Switchers
You will often see language switchers as you browse the web. Though, if you don’t speak another language (or don’t look for an option), you may not be aware just how diverse they can be in terms of their design and location on the page.
Over the next few sections, we’ll take a look at some examples of language switchers.
1. Microsoft Translator
The Microsoft Translator site lets visitors choose from almost 40 languages using a drop-down (or in this case, a ‘drop-up’) located near the page footer. They’ve also opted to display each language name in full using the native language. Doing this lets visitors recognize their language at a glance, and ensures the language switching options are clear.

We like how you can choose to visit a regional version of the site too, as a separate option. Too often, big brands make it difficult to choose a language, instead, forcing users to switch regions.
2. Etsy
As an international marketplace where crafty people can sell their handmade goods, it’s no surprise Etsy offers a well-designed language switcher. You can find it in the footer of every page on their site.

You can choose a region, language, and currency. Clicking this pops up a modal box, where you can change each of these options. It’s a slick design that’s intuitive and lets the user choose their language without having to be redirected to a regional version of a site.
3. Evernote
Popular note-taking app Evernote keeps its language switcher simple, using a drop-down menu in the footer to change languages.

It’s easy to find and offers clear labeling – “Choose a language”. As such, if you click it, you’ll know what you’re going to see
Sometimes, you don’t need complicated language switchers if it’s not necessary. After all, if you impede the visitor, it could turn them off from your site.
4 Best Practices for Displaying WordPress Language Switchers
For much of the world, reading in a native language is a luxury. English is the number one spoken language in the world according to Ethnologue, with over 1.3 billion speakers. It also claims the top spot among the most commonly used languages online, with almost 62 percent of sites using it.
If you don’t speak Spanish, Chinese, or any other language you can’t understand, you’ll likely look for a language switcher first. Though, language switchers often fall into two camps, with relevant attributes:
- Non-existent. In other words, the website doesn’t offer translations at all.
- Difficult to find. The language switcher might be hidden in the navigation or some other location, forcing the user to play hide and seek.
- Easy to find. In contrast, you might find the WordPress language switcher in a relevant clear place, such as the header or footer.
- Very easy to find. You’ll have good fortune if the WordPress language switcher is in prominent screen real estate, such as the header. This lets you choose the right language fast.
In short, if someone can’t read your site, they’re going to close the browser tab. While they might try to use Google Translate, the results won’t match that of a language switcher. If it’s difficult to find your language switcher, users might question the quality of your design and lose trust in your company.
As such, it’s crucial you make it easy for your site’s visitors to choose a preferred language. In an ideal world, you should be able to do this without the need for add-ons.
Next, let’s take a look at some best practices for displaying a language switcher.
1. Choose Your Languages Carefully
Multilingual plugins for WordPress such as WPML and Polylang often provide automatic translations (or machine translations) in dozens of different languages. Unlike WPML and Polylang, Weglot offers over 100 languages. Though, just because you can enable every language doesn’t mean you should.
Instead, look to only activate the languages you need. This means taking the time to consider your target audience and the languages they speak. Also consider any new overseas markets you’d like to expand your company into in the future.
Smaller companies often provide a handful of languages, while big brands and multinationals such as Apple and Microsoft will offer myriad languages and even regional websites. As such, if you run a WooCommerce store, think about the territories you sell to.
Being selective about the languages you offer on your site will also ensure you don’t create extra work for yourself and your team. In other words, the greater number of languages you offer, the more content you’ll need to review for mistranslations and cultural nuances. The fewer and more targeted your languages, the better.
2. Make Sure Your Language Switcher is Easy to Find
It shouldn’t take visitors more than a couple of seconds to find your language switcher. It’s a good idea to place your language switcher in the header or footer of your page – both are great locations. For mobile devices, you often find language switchers in the main navigation as a menu item.
Your website designs should avoid straying too far from these established norms. Users who aren’t native speakers of your site’s default language may have trouble finding your language switcher if it’s difficult to find or in an unusual position. This is another area where those users who leave out of frustration affect your overall SEO.
On the whole, you want bilingual and multilingual visitors to your site to feel welcome and comfortable browsing and accessing your content, no matter their native language. Placing your language switcher somewhere that is easy to find will go a long way to helping you achieve this.For example, check out how prominent WordPress development agency Human Made’s language switcher is – with only one language no less:

Often, some sites will set the language based on the user’s web browser. While this does help the user by cutting out the work involved, some users might land on the wrong version of your site.
For example, a visitor could be physically located in Germany and your multilingual WordPress site might autodetect that and display German. Though, if they are a non-native traveler without the ability to speak German, they won’t have a great experience with you.
In short, a way to auto-detect a geographic location is a solid feature, but you should also provide a language switcher so visitors can choose their preferred language if needed.
3. Style Your WordPress Language Switcher to Match Your Design
Most translation plugins will provide a default language switcher button to use, although some don’t and you’ll have to create your own. While it may be tempting to stick with the generic language switcher provided, customizing it to match the look and feel of your site is a great idea.
For example, this might involve configuring your plugin’s settings to display text instead of buttons, or language codes instead of language flags. Weglot lets you customize the CSS for your WordPress language switcher. This lets you make more advanced styling changes to your language switcher.
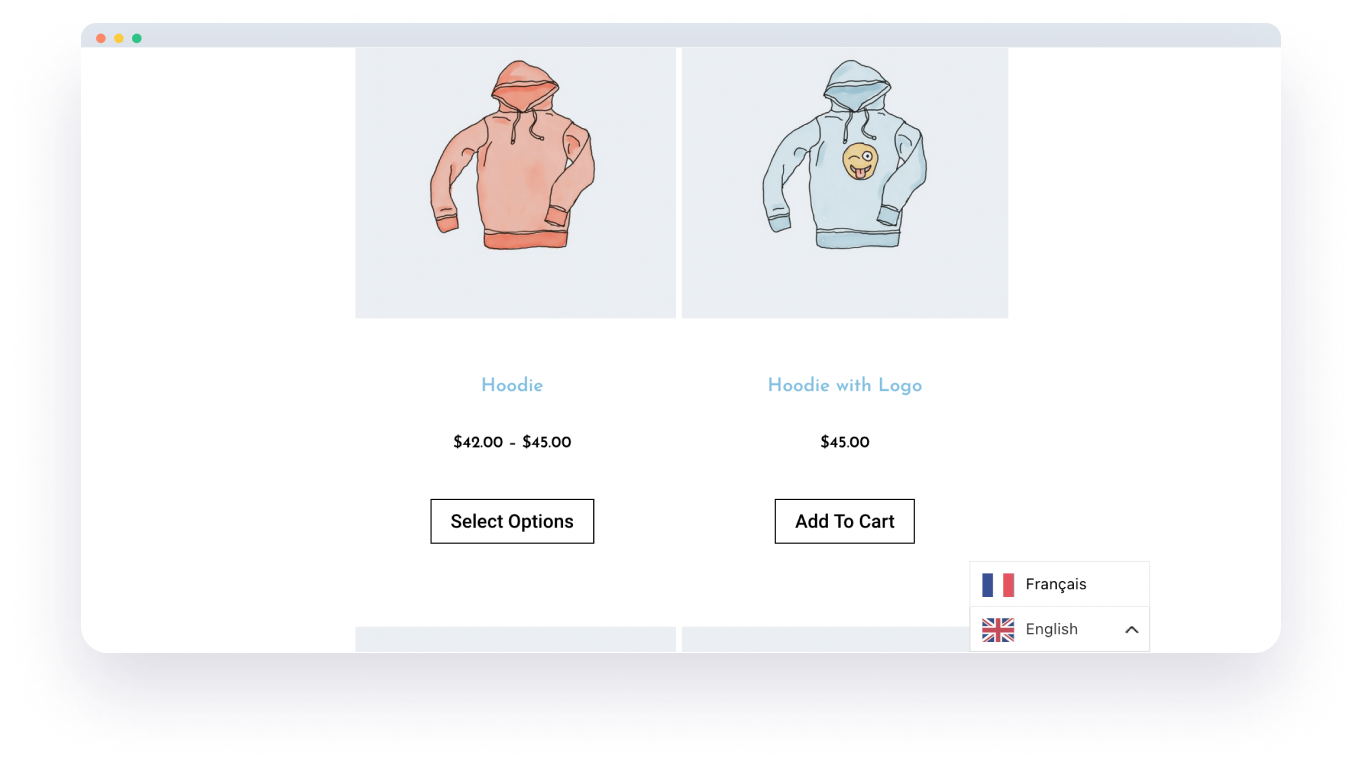
For example, Weglot provides both a wealth of simple and more complex options for customizing the design of your site. We’ll explore this in more depth later on. Though, to show you an example of how styling your language switcher can make a world of difference, here’s a look at the default language switcher that comes with Weglot:

Weglot will place the language switcher in the bottom-right corner out of the box. This is okay, but it’s not ideal for this site in question. Here, the language switcher sticks out because of both its placement and because it doesn’t fit with the overall design of the site.
Next, take a look at the International Chemistry Olympiad (IChO) IChO France. For this bold design, the WordPress language switcher is grouped with the social media icons away from the main navigation:

The designer has used a dedicated CSS selector to style shapes around the language codes, and possibly some HTML or a shortcode. This draws the visitor’s eye to the top-right of the page to the WordPress language switcher. This ensures visitors – especially those taking part – will know how to select their preferred language straight away.
4. Select Either Flags or Names for Your Chosen Languages
Country flags are often used to represent different languages for language switchers. While flags are tempting for designers to use for many reasons (they’re colorful, iconic, and space-efficient), flags aren’t designed to depict languages. This throws up various problems.
For instance, consider Portuguese. It’s the official language in Portugal, Brazil, Cape Verde, Guinea-Bissau, Mozambique, Angola, São Tomé & Príncipe, East Timor, Equatorial Guinea, and Macau. It also has cultural presence (in both traditional and creole variants) in India, Sri Lanka, Malaysia, the ABC islands in the Caribbean, and the Indonesian island of Flores. In this example, choosing a flag is a difficult decision, and could alienate or confuse almost everyone who speaks the actual language.
There’s also an issue where visitors might not recognize a flag because of the icon size, or they might be confused by similar looking flags.
The Flags are not languages blog, about designing global user experiences, recommends always using the name of a language in its local format. For example, instead of using the English forms of “German” and “Chinese”, label them as “Deutsch” and “中文”.
How to Create a WordPress Language Switcher with Weglot
Let’s show you how to set up a simple WordPress language switcher with Weglot. Next, go through how to style it using CSS for advanced customizations.
Weglot is one of the most popular and easy-to-use WordPress language switcher plugins for WordPress. With Weglot, you can add another language to your site in less than five minutes, and start styling it to suit your site’s design.
You can add a WordPress language switcher to your site in a variety of locations — in your navigation, using a widget, with a shortcode, or with HTML code. Here, we’re going to add a language switcher to the footer of your site using language codes rather than flags.
First though, you should set up the Weglot plugin on your WordPress site. We have a full tutorial within our Resource Center on how to install and activate the Weglot plugin.
At one point, you’ll need to enter your API key, original language, and the language you would like to translate your content into. If you don’t already have a Weglot account, you’ll need to create one to get your API key. Then add the original language of your site and the languages you want to add (Destination languages).

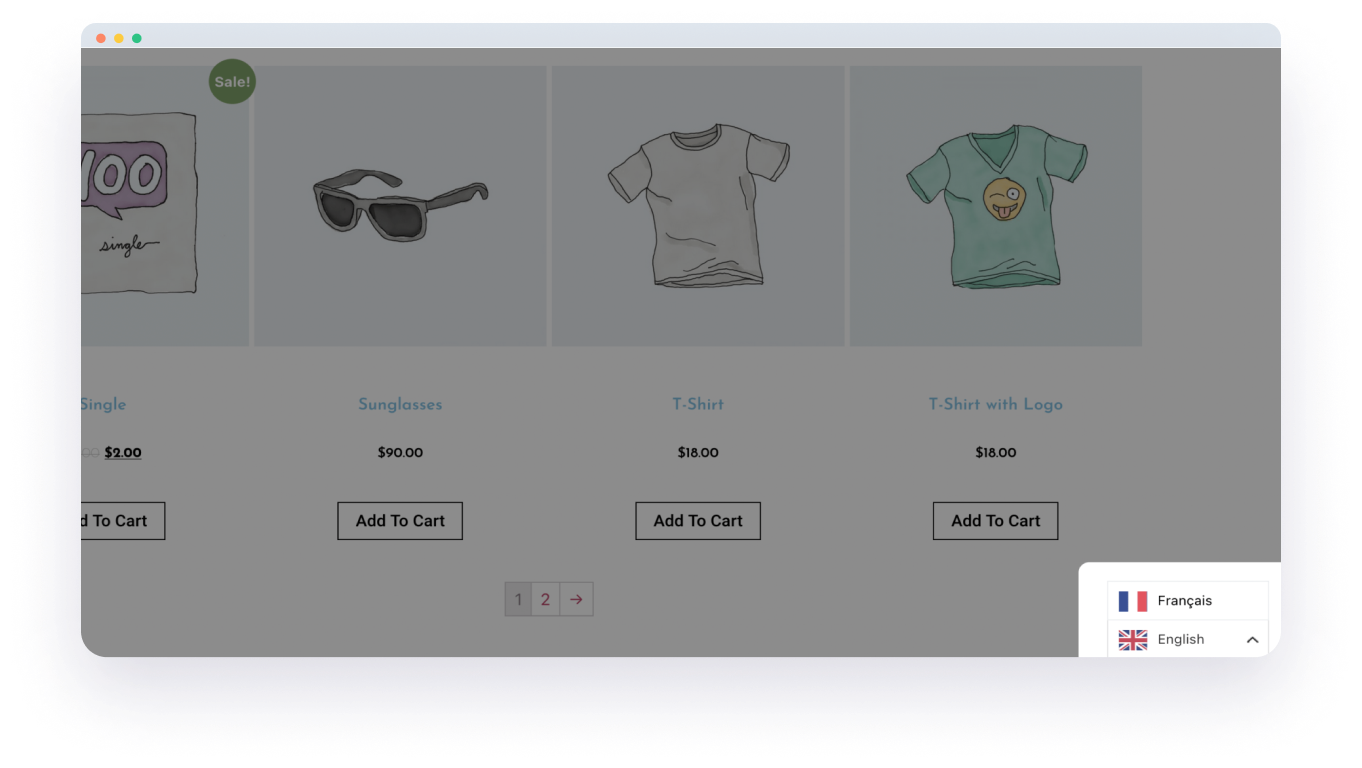
Once you save your changes, take a look at the front end of your site. You’ll see a new WordPress language switcher in the bottom-right corner. When you click it, it’ll expand to display your available languages and let you choose and display your preferred translation.

This is the default design that comes with Weglot, you can customize the look and location of your WordPress language switcher in a few different ways.
To start making basic customizations, go to Weglot > Language button design (Optional) in the WordPress back end. On this screen, you can choose:

- Whether to use a drop-down menu
- Whether you will use flags within your switcher, and the type
- If you display the names of your languages
- To display only the language code
There’s also a section for overriding CSS and replacing them with your own custom selectors – we’ll come to this in a second. For now, let’s customize the language switcher to display language names without flags, but keep the drop-down menu.
To do this, uncheck “With flags” and check “Is fullname”, then take a look at your site:

You may also want to carry out some advanced customizations. For example, you could choose to display the language switcher in the header.
There are a few ways to do this – either in a menu, as a widget, using a shortcode, or with HTML. Note that you don’t need any knowledge of PHP or have to access your core templates. This gives you developer-level power without the need for expert experience.
Head back to the Weglot screen in the WordPress dashboard, and scroll down the page until you see options to display the language switcher:

Note that some placements might suit different approaches. For example, you’ll want to use the [weglot_switcher] shortcode for inline page elements, using the functionality from your preferred page builder (the Block Editor uses the Shortcodes Block). Of course, for a header or footer switcher, a widget or menu might work better.
When you’re ready and have saved your changes, take a look at your front end once more:

While the language switcher is within the header, it’s not displaying in the right way. Also, you could also use inline language codes, rather than a drop-down menu.
This is where you use CSS. First, turn off the drop-down setting within the Weglot menu in WordPress. Then, check the box to display language codes.
From here, you can use the Override CSS textarea to set selectors for your fonts, colors, and text weight so it fits your site design:

Finally, take a look at your design on the front end:

With the right placement and a few lines of CSS, you can quickly and easily style Weglot’s language switcher to match your site, without the need for complex template editing, HTML, or PHP coding skills.
Case Study: How Baltazare is Using Weglot

Founded in 2014, web agency Baltazare designs and develops websites for big brands like Candia and Royal Monceau. Using WordPress, the agency develops more than 40 website projects each year.
Multilingual projects were always painful for Baltazare prior to discovering Weglot. The team struggled to find a good translation solution that matched their clients’ needs. For a while, it seems WPML, another popular WordPress translation plugin, was a good solution. Though, the team wanted something less complex and more efficient.
After testing the WordPress Multisite approach with one site per language, and finding it too much of a headache to manage maintenance, the team discovered Weglot. Baltazare Founder Guillaume Vergano said he was delighted to find Weglot seamlessly integrated with any WordPress website, including themes and plugins, and translated all content including custom post types and custom taxonomies.
“Learning to use Weglot is very easy for us or for our customers. We always create a short video tutorial that explains in a few minutes how to use Weglot to each of them and that is it,” said Guillaume.
Baltazare is now using Weglot for a number of live sites — including the IChO France 2019 site from earlier, and the team always recommends Weglot to clients as a trusted solution for multilingual sites. It’s a user-friendly and flexible alternative to WPML or Multisite.
Achieve Full Cultural Optimization With a Well-Designed WordPress Language Switcher
On the whole, a designer’s job is to create meaningful designs that delight users. When it comes to multilingual websites, a designer’s job is even more important — translations are only helpful if language switchers are easy to find and intuitive.
A well-designed language switcher is a bonus, but also something you should aim for. When your new language switcher looks and feels like a seamless part of your website experience, visitors and customers will feel more at home browsing your translated content. This helps establish (and increase) trust, and goes a long way to building a strong connection with your brand.
A language switcher that has been thoughtfully designed is a key component of any international website. Armed with this knowledge, designers can create translation experiences that empower users rather than hinder them.


